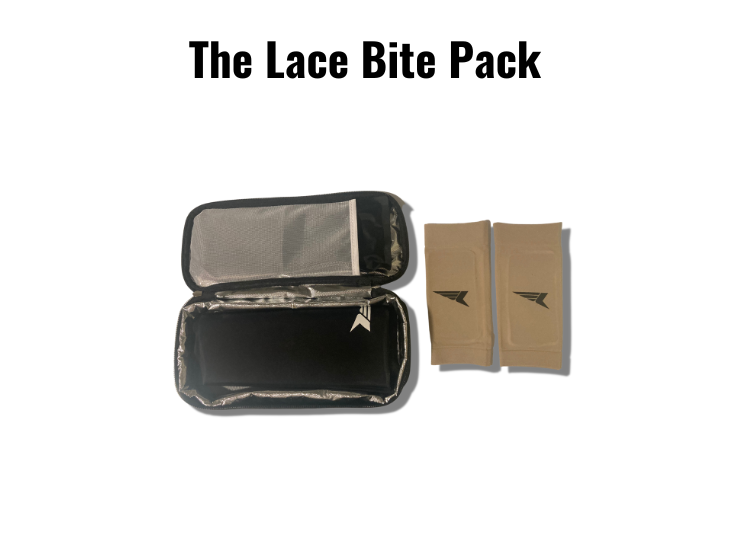
I’m a lifelong hockey player who spent over a year trying everything to fix my lace bite. I've read everything on lace bite. Tried every product and lacing technique. And eventually, I started to skate pain free again.
Here’s everything I’ve learned presented step-by-step, so you can start skating pain free much faster than I did. I also sell all of the products I use to skate pain free.
First, we need to understand what lace bite is to know which solutions to try.
What is lace bite?
Lace bite is pain on the front of the foot or ankle hockey players feel when skating. The medical term for this condition is tibialis anterior tendinopathy, which is essentially aggravation to the tendon that runs along the front of the foot and ankle.

When ice skating, this tendon is in contact with the tongue of the ice skate and the friction between tendon and skate can aggravate the tendon.
Lace bite usually presents with:
- Pain when skating or tightening ice skates
- For more severe cases, pain when touching or wearing shoes
- A bump or swelling
- Redness
- Located on the ankle or top of the foot
This is an example of a hockey player with lace bite who has a more severe bump on the tibialis anterior tendon.

A team of physicians from Columbia University Medical Center studied the effects and treatments for lace bite in hockey players, which is the only medical paper of its kind to my knowledge.
What causes lace bite?
Lace bite is caused by friction or contact between the tongue of the ice skate and the skater’s foot or ankle, which aggravates the tendon on the front of the foot. This is more likely to happen when:
- Buying new ice skates and they aren’t broken in
- Skating after a long period of not skating
- Skating at full speed without warming up
- Spending more time than usual in ice skates
The important question becomes how can you alleviate lace bite pain without stopping skating?
These are the most effective options to reduce or eliminate lace bite pain from my experience
Most are super fast and easy to implement, and some are completely free! I recommend you mix and match options to see what works best on your body. Everyone’s a little different.
Let’s break down these solutions by:
- Changes you can make to how you tie your skates
- Gel pads to wear while skating
- How to reduce swelling after skating
Change how you tie your skates before playing hockey
Remember, lace bite is caused by the friction between skate and foot or ankle. The goal is to tie your skates so that the friction is reduced, while your skates remain tight and don’t impact your skating ability.
Try tying your laces outside-in instead of inside-out.
By tying your laces this way, the laces squeeze the entire skate boot when tightened instead of pressing directly down on the skate tongue. It keeps your skates tight without putting as much pressure directly on the tendon on the front of your foot.
Try moving the location of the knot at the top of your ice skates. I discovered this through trial and error while skating. I noticed that the most pressure between skate and ankle was directly underneath the knot.


Moving the knot makes sense because the knot is the point that holds the lace tight. Try moving the knot all the way to the left of the skate tongue before skating. Then, try moving the knot all the way to the right of the skate tongue. I actually prefer to move the knot location between periods.
By moving the knot, you’re trying to accomplish two goals. One, don’t let the knot sit directly above your tendon, which usually aligns with the middle of the skate tongue. Two, don’t let the knot stay on any one part of your ankle for too long. I’ve noticed the longer the knot sits in one area, the worse the aggravation becomes.
If you have lace bite on your foot or the bottom of your ankle, you can also try skipping eyelets when lacing your stakes.

This lacing technique relieves pressure directly above the painful area but maintains the tightness from the lace everywhere else. Keep in mind this option will not help your lace bite if the aggravated area is above the top eyelet of your skate. If that’s the case, try the other options.
And before you lace up your skates, try giving your foot and ankle a short massage. I've found this helps ease the tendon into activity vs going from a cold start to skating.
Gel pads to wear while playing hockey
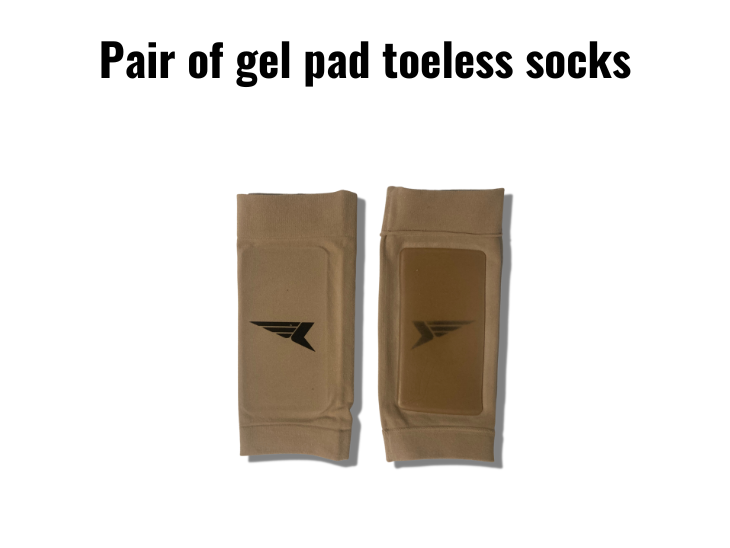
Another option to reduce friction between skate and tendon is to wear a gel pad while skating. There are a couple of gel pad options to consider depending on the nature of your lace bite.

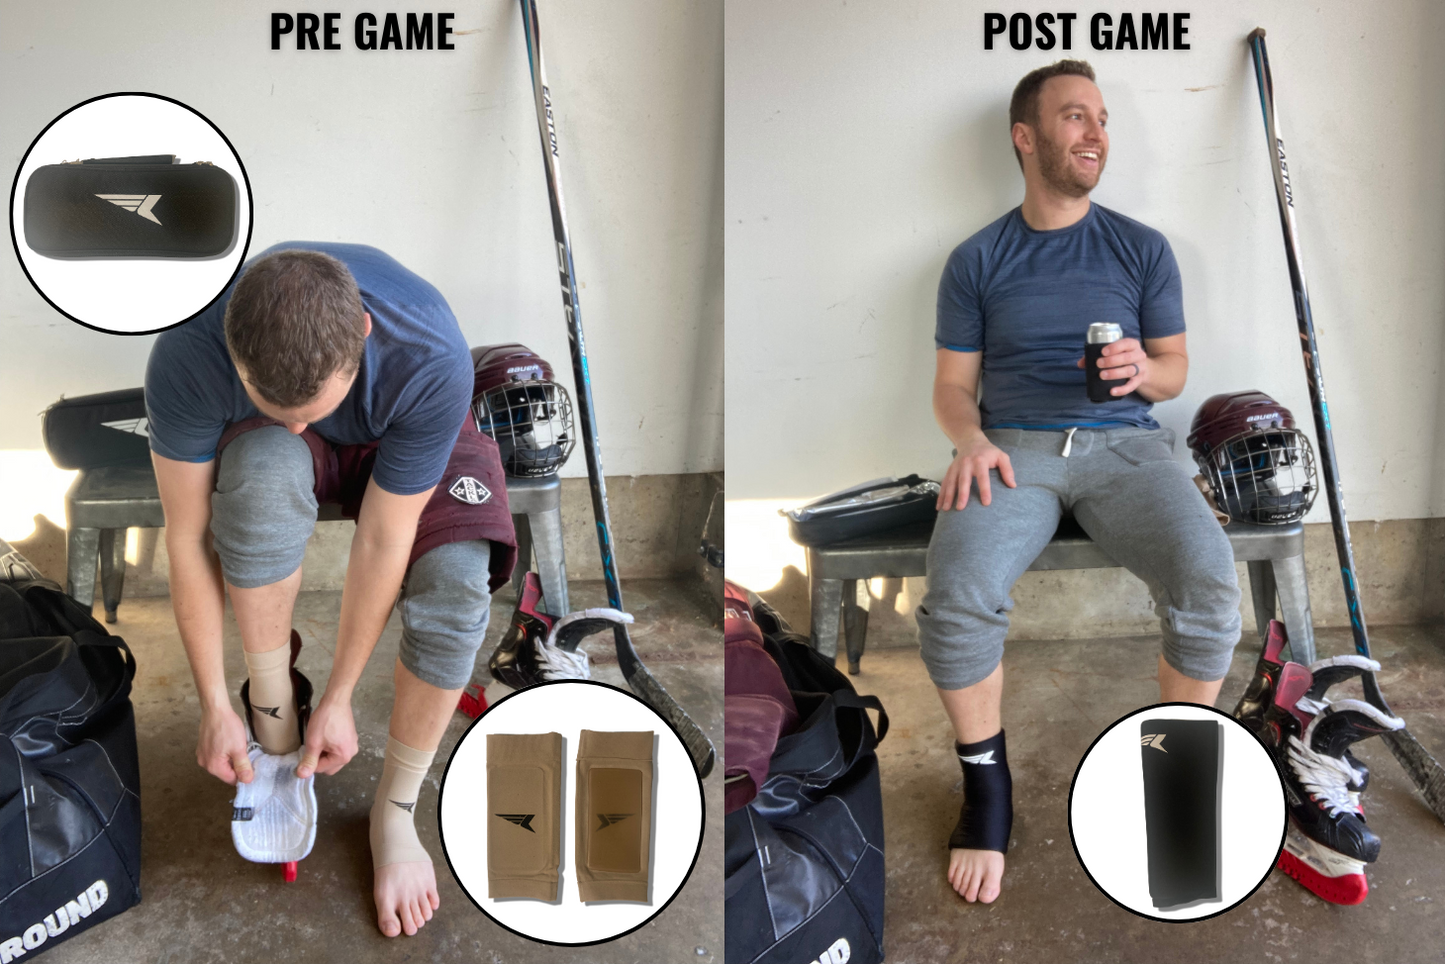
The idea is to create a cushion between skate and body to reduce pressure on your tendon. Put the gel pad sleeve on before you put on the rest of your equipment. Make sure it covers the aggravated area and doesn’t have any wrinkles before slipping on your skate. When worn correctly, I don’t even notice it’s on while I’m skating.
How to reduce swelling after skating
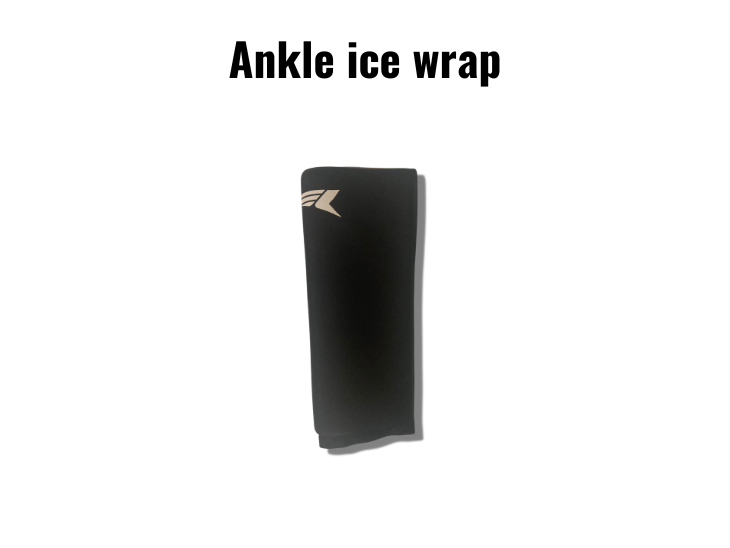
Ice your foot or ankle after skating with lace bite. The goal is to reduce swelling from lace bite so that any aggravation to the tendon is minimized. Icing was a game changer for me, and I recommend this to any friends or teammates with lace bite. Once I started icing, I noticed the bump on my tendon stop increasing in size, and then, it slowly started to decrease.
As soon as possible after you skate, ice for 15-20 minutes. I prefer to ice in the locker room while I’m taking off my equipment and talking to teammates. I love this ice sleeve that fits over your ankle and use it after every time I skate. It cools the entire top of your and ankle and is hands free so I can have a beverage while icing.

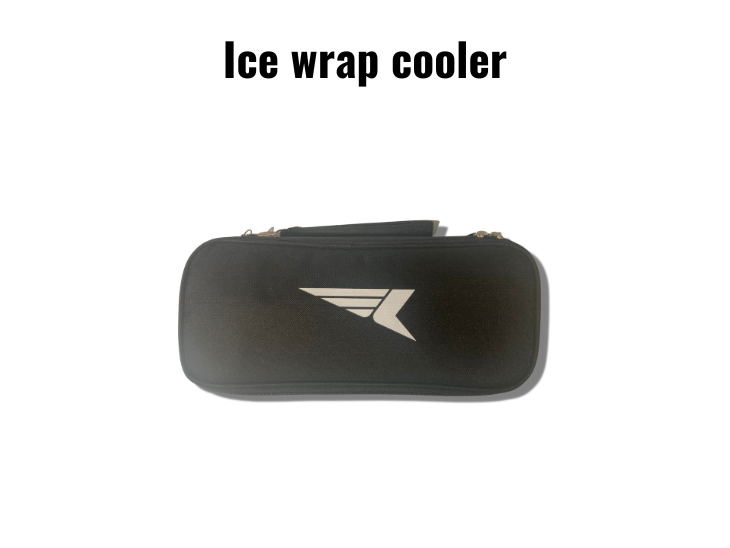
We sell this ice sleeve and a cooler that keeps it "freezer cold" too.
I’ve found the keys to icing are to ice consistently after every time you skate. Every time!
In addition to icing, topical pain relieving gel can help with recovery between skates. These gels are commonly used for conditions like arthritis pain.
Last, remember lace bite can be caused by skating full out right away. Warm up before every game to ease your skate and tendon back into skating.
Putting it all together
Lace bite affects everyone’s body a little differently. What works for me might not work for you. I recommend trying a variety of options in combination until you find success. The goal of this site is to educate and help provide you with options so you’re off to a better start to discover what works for you.
